I thought I would share with you today one of my Halloween decor items before the holiday is gone.


I hope you enjoy checking out this spooky, fun project!!
Thanks a bunch for stoppin' by!
See you again soon!
Hugs!
Sandy


 ,
,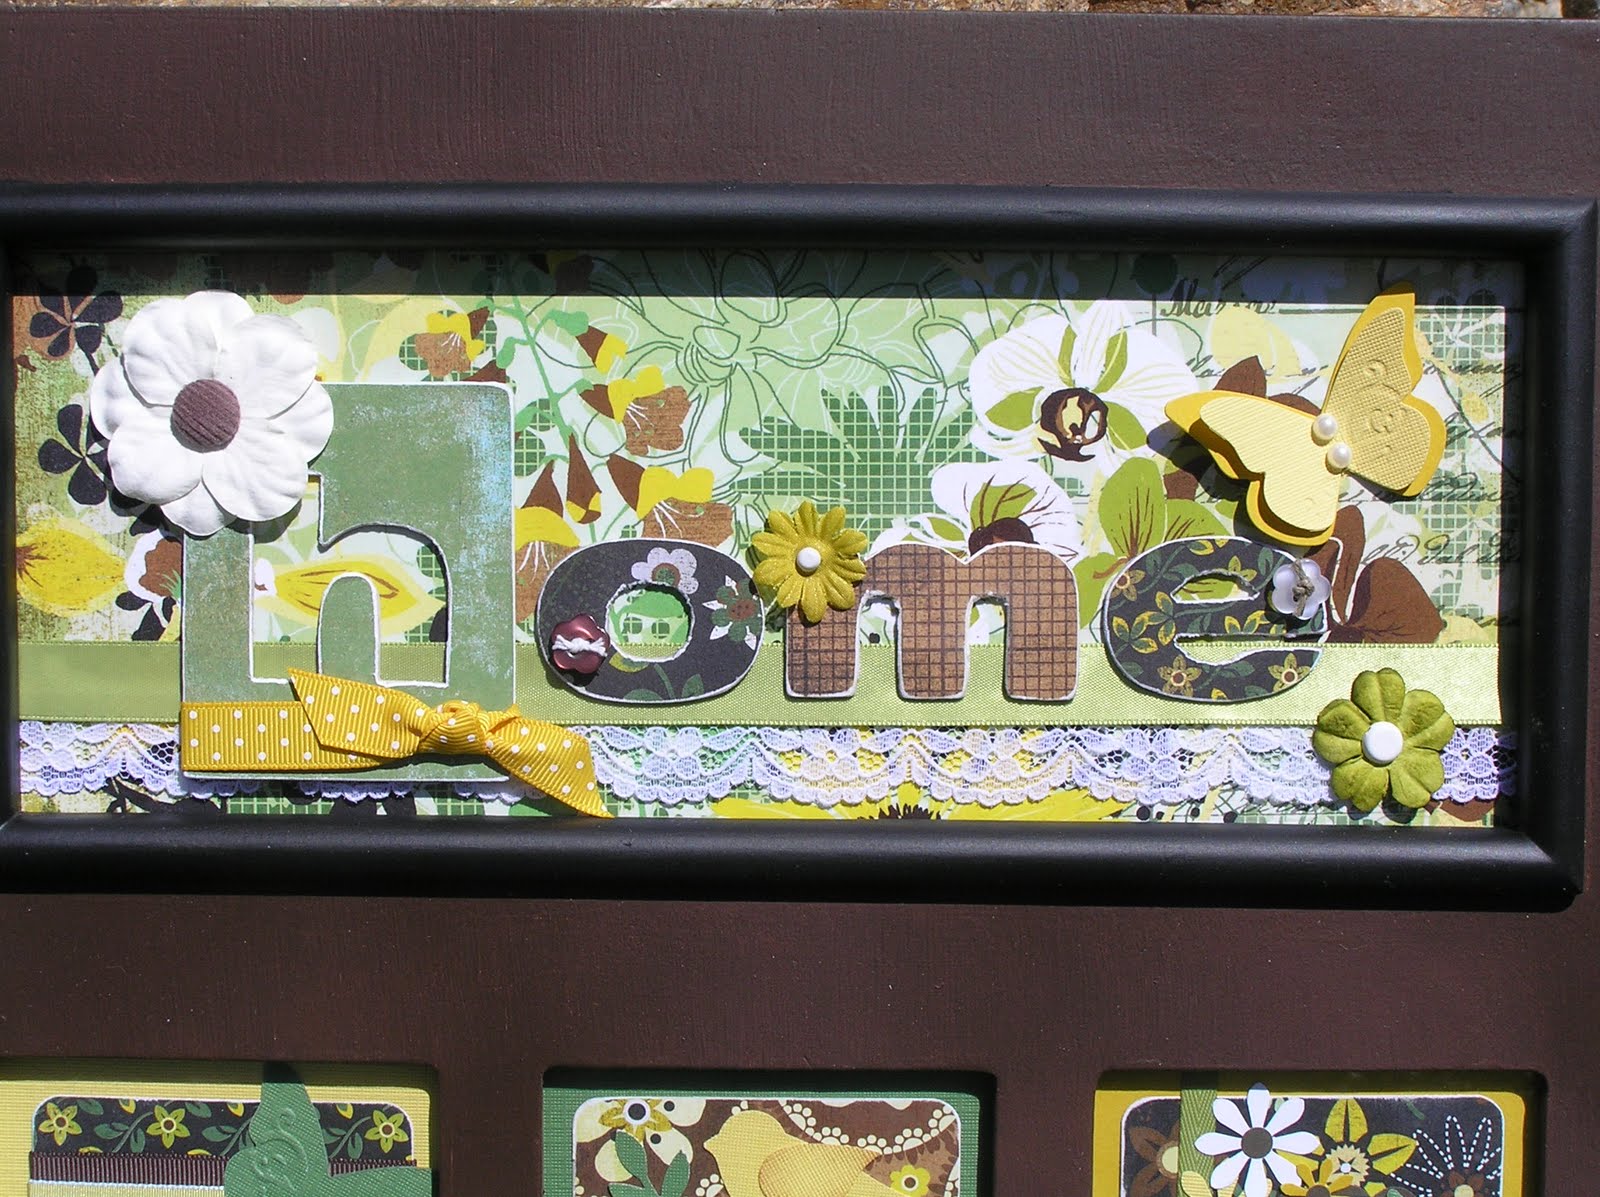 acrylic paint and added 2 coats of matte finish Krylon spray. I used lots of different company products, too many to try and list them all. The 1st and 3rd sentiment stamps are from SU! and the middle is from CTMH. I used BasicGrey's Origins collection designer paper. Cardstock was from my scrap pile. Most of the punches and diecuts are from SU!, Marvy, and Spellbinders. I will be hanging this in my kitchen on the wall next to the door that leads to my laundry room and garage. I am super please with how it turned out and that it is finally finished!!


 Good afternoon All,
  that I created for my youngest daughter's upcoming birthday. I had already made her card using this CTMH stamp set and I was rolling this idea around in my head for a few days. I wanted to do something kind of 'shabby/chic/trendy' ish...if that makes any sense! I started this on Thursday to go along with the Ways to Use it Challenge to use an edge distresser. I used my edge distresser on all of the layers of designer paper. I stamped the images several times in different color inks and then cut the clothing out and paper pieced them. This was very tedious, but I like how it turned out! Kinda like cutting out paper dolls! One thing that I like about CTMH clear acrylic stamps is that I could bend the words to contour the images. I put this in a regular picture frame so I couldn't use too much dimension. I also sponged the mat with pretty in pink ink. Here is my supply list:
 Good afternoon! We have been getting lots of downpours with thunder and lightning all day here in Upstate New York. I have been prepping the master bedroom for some fresh paint. It's turning out to be a much more involved project than I had anticipated. So, I thought I would take a break and post something quick to my blog. This cute little box/basket I made for a door prize at one of my recent stamp classes. I cut 2 box #2 dies using my Big Shot and stuck them together (back to back)with some sticky strip. I made the handle using the wide oval punch and then decorated it with the Bella Rose designer series paper. I filled it with some paper shreds, 2
 ghirardelli chocolates, 2 incentive stamps and a basic black stampin' spot. This was a big hit and everyone wanted me to pull their name from the door prize bucket! This was a fun and easy project, so give it a try!


 Here are a couple more projects from my April Showers Card Class. The vase of flowers was so much fun. I wanted to demonstrate the Decor Elements, so we used them to decorate our vases. Here is the recipe:
 I decided to use some basic layouts with minimal layers. The little Easter pouches were a big hit and were very easy to make. They are made from a 6" x 6" piece of DSP. The directions can be found here from the Splitcoaststampers website. Check it out!


 One of my friends is getting married this coming fall and she wanted to host a class on favors. So, these are the projects we did. I showed here about a dozen samples and she narrowed it down to these six. Some of these wonderful ideas came from many of the talents on Splitcoaststampers. The little book with the bride and groom on it holds 2 Ghirardelli chocolate squares. i got the idea from a tea bag holder that someone demoed at one of my team meetings. I just changed the dimensions.
I am in the middle of replacing 11 (eleven) interior doors in my house. I have been painting and sanding, it is just a lot of tedious work. I will post some more project pics either later today or tomorrow. Thanks for stopping by. See you soon!

