Howdy All!
I thought I would share with you today one of my Halloween decor items before the holiday is gone.
This tray took me several hours to complete, but was well worth the time.
I got the tray from one of the big box craft stores. All of the stamp sets used are current Stampin' Up! sets.
I use the Howlstooth & Scaringbones Designer Series Paper found in the Holiday catalog.
I found some cute corked vials to add a bit of 3-D interest, aren't they cute?
The only retired SU! products used were some ribbons and the diecut letters!
I hope you enjoy checking out this spooky, fun project!!
Thanks a bunch for stoppin' by!
See you again soon!
Hugs!
Sandy
These are a FEW of my Favorite things! ~A place to share my creative side and the things that I love~
Showing posts with label Wall Art. Show all posts
Tuesday, October 30, 2012
Sunday, April 22, 2012
Summer Smooches Ribbon Memo Board
Howdy All!
I wanted to make something with it right away, but I am not the best
sewer, so I went for a no-sew project. I thought it would look cute as a
memo board. I absolutely love how it turned out and it was pretty easy to
make.
Man, I've got lots of things going on right now! You should see my craft room. Yikes!! So, I preordered the new Summer Smooches designer fabric and I LOVE it! 
I just took a 16" x 20" canvas and stapled a layer of batting and then the fabric. I placed the ribbon where I wanted it and then used my paper piercer to poke a hole through the ribbon, fabric, batting and canvas. I punched 1&3/8" and a 1/2" circles and layered them with the brads and secured them to the canvas.
I also stapled the ribbon to the back of my canvas to keep it all secure. This is what it looks like from the back. I still need to add some kind of hangers, but otherwise it is done and it is gorgeous!
I am getting ready to take a trip to PA to visit my grandson and celebrate his 1st birthday. I can't wait to hold him and kiss him!
Thanks a bunch for stoppin' by! See you again soon!
Hugs!
Monday, October 3, 2011
Halloween Wreath
Howdy All! 
I am so glad to be posting today! I have a really neat project to show you that I worked on over the weekend.
I'm not sure what they are called - Lollies/Rosettes/Paper YoYos - but they are made using the new Stampin' Up! Simply Scored tool! My inspiration for this wreath came from page 6 in the new SU! holiday mini. All of the products used are from SU! or finds from the dollar store. I had planned on letting more of the wrapped grapevine show but I just kept adding more and more lollies!! The best part about this project is that I spent less than $10 at the dollar store and I have enough stuff to
make 2 or 3 more! All of the 'Lollies' are made from strips of dsp or cardstock measuring 3/4", 1", 1 1/4", 1 1/2" and 2" wide.
Here is what I used:
SU! Products:
STAMPS: Spooky Bingo Bits
PAPER: Frightful Sight dsp, First Edition dsp, Old Olive, Basic Gray, Whisper White, Cajun Craze
INK: Basic Black
ACCESSORIES: Simply Scored,
Circle punches, various buttons, brads and hardware(some retired), hemp and baker's twine
From the Dollar Store:
Plastic Skeletons ( 4 pak), sparkly spiders(3 pak), bag of spider webbing, roll of ivory tulle, black creepy cloth (you get lots in 1 pak), grapevine wreath(they come in 3 sizes - I used a 13", straw basket filler, and black pipe cleaners
I started out by covering the grapevine wreath with some Creepy Cloth using my hot glue gun. Then I
went to town making my 'lollies' and I laid them all out before hot glue gunning them onto my wreath. Last I hot glue gunned all the extra stuff on. It came out a little lop-sided, but I am still pleased with it!
Well, that's all I have for now! Thanks a bunch for stoppin' by! Stop back again soon to see what else I have been up to!
I am so glad to be posting today! I have a really neat project to show you that I worked on over the weekend.
I'm not sure what they are called - Lollies/Rosettes/Paper YoYos - but they are made using the new Stampin' Up! Simply Scored tool! My inspiration for this wreath came from page 6 in the new SU! holiday mini. All of the products used are from SU! or finds from the dollar store. I had planned on letting more of the wrapped grapevine show but I just kept adding more and more lollies!! The best part about this project is that I spent less than $10 at the dollar store and I have enough stuff to
Here is what I used:
SU! Products:
STAMPS: Spooky Bingo Bits
PAPER: Frightful Sight dsp, First Edition dsp, Old Olive, Basic Gray, Whisper White, Cajun Craze
INK: Basic Black
ACCESSORIES: Simply Scored,
From the Dollar Store:
Plastic Skeletons ( 4 pak), sparkly spiders(3 pak), bag of spider webbing, roll of ivory tulle, black creepy cloth (you get lots in 1 pak), grapevine wreath(they come in 3 sizes - I used a 13", straw basket filler, and black pipe cleaners
I started out by covering the grapevine wreath with some Creepy Cloth using my hot glue gun. Then I
Well, that's all I have for now! Thanks a bunch for stoppin' by! Stop back again soon to see what else I have been up to!
Friday, June 18, 2010
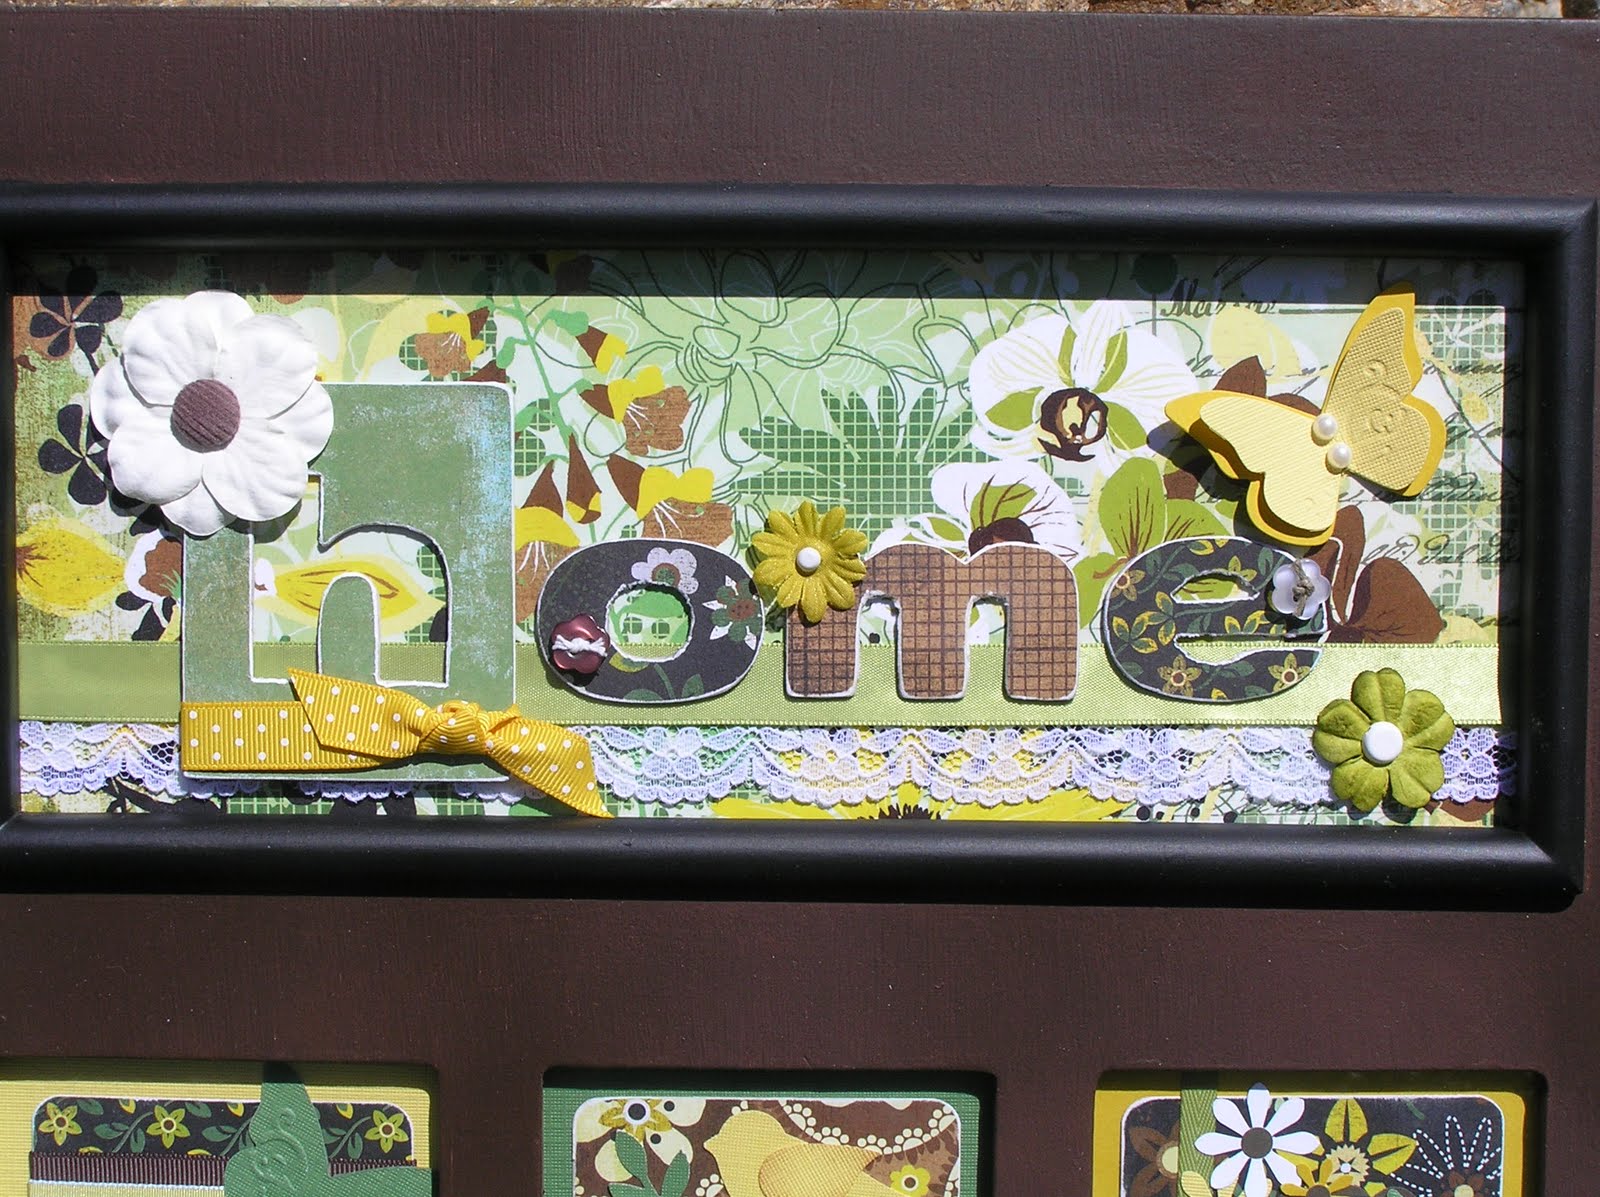
Home Decor Altered Key Holder
Good Evening All
,
I wanted to show you these pics of this altered key holder that I made. I have been seriously working on it for about 2 weeks. It was one of those projects that while I had a picture in my head of what I wanted to do it was more difficult getting the right combination of elements!! lol!
I found this key holder plaque on a clearance shelf in TJ Max or Marshalls for $5. It was kinda beat up and it was mauve and off white in color with a picture of a rowboat in the top. It also had white hooks that were attached crooked so I replace them. I repainted the frame with several coats of brown and black
acrylic paint and added 2 coats of matte finish Krylon spray. I used lots of different company products, too many to try and list them all. The 1st and 3rd sentiment stamps are from SU! and the middle is from CTMH. I used BasicGrey's Origins collection designer paper. Cardstock was from my scrap pile. Most of the punches and diecuts are from SU!, Marvy, and Spellbinders. I will be hanging this in my kitchen on the wall next to the door that leads to my laundry room and garage. I am super please with how it turned out and that it is finally finished!!
Thanks so much for stoppin' by!
I wanted to show you these pics of this altered key holder that I made. I have been seriously working on it for about 2 weeks. It was one of those projects that while I had a picture in my head of what I wanted to do it was more difficult getting the right combination of elements!! lol!
I found this key holder plaque on a clearance shelf in TJ Max or Marshalls for $5. It was kinda beat up and it was mauve and off white in color with a picture of a rowboat in the top. It also had white hooks that were attached crooked so I replace them. I repainted the frame with several coats of brown and black
Thanks so much for stoppin' by!
Sunday, May 16, 2010
WT270 Be Yourself Framed Art
We are having the most beautiful weather here in Las Vegas: Sunny and 95! I just thought I would share with you today this framed art piece
that I created for my youngest daughter's upcoming birthday. I had already made her card using this CTMH stamp set and I was rolling this idea around in my head for a few days. I wanted to do something kind of 'shabby/chic/trendy' ish...if that makes any sense! I started this on Thursday to go along with the Ways to Use it Challenge to use an edge distresser. I used my edge distresser on all of the layers of designer paper. I stamped the images several times in different color inks and then cut the clothing out and paper pieced them. This was very tedious, but I like how it turned out! Kinda like cutting out paper dolls! One thing that I like about CTMH clear acrylic stamps is that I could bend the words to contour the images. I put this in a regular picture frame so I couldn't use too much dimension. I also sponged the mat with pretty in pink ink. Here is my supply list:
STAMPS: Be Yourself (CTMH)
PAPER: Whisper White, Tempting Turquoise, Sahara Sand, Sweet Pea designer series paper (SU!)
INK & MARKERS: Chocolate chip, pumpkin pie, pretty in pink, sahara sand, so saffron (SU!)
THE REST: So Saffron wide grosgrain ribbon, punches (SU!); Nestibilities, Cuttlebug, edge distresser
Well, that's it for now! Thanks a bunch for swingin' by today! See you soon and Happy Crafting!!
Subscribe to:
Posts (Atom)